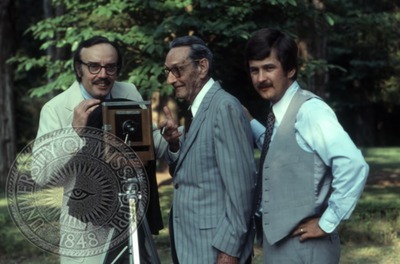
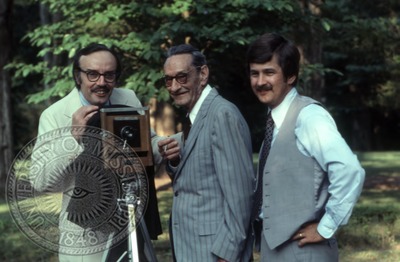
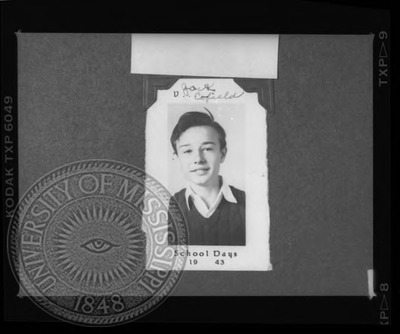
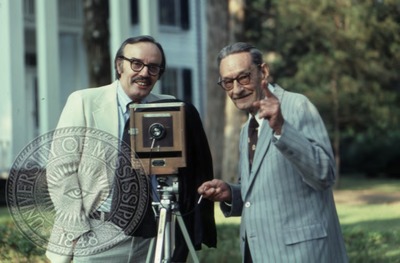
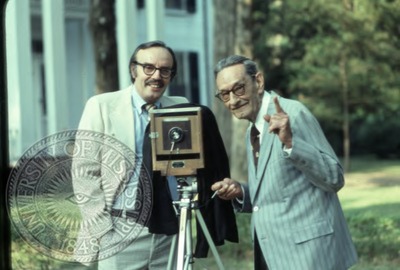
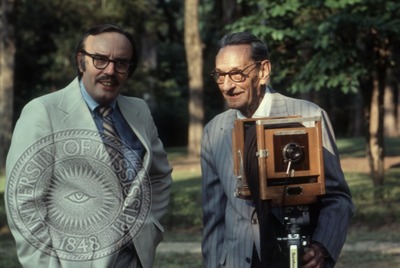
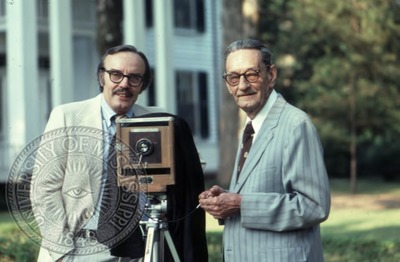
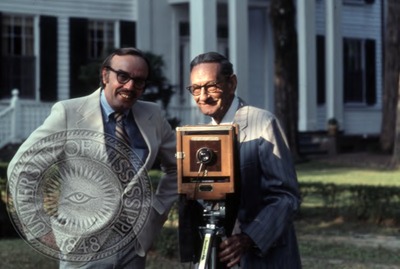
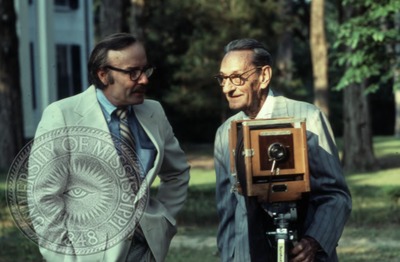
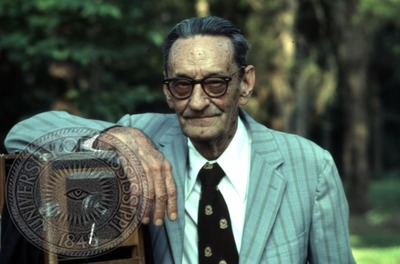
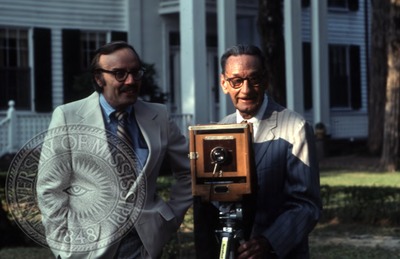
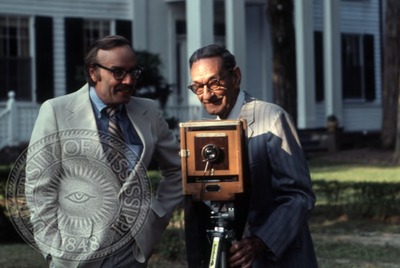
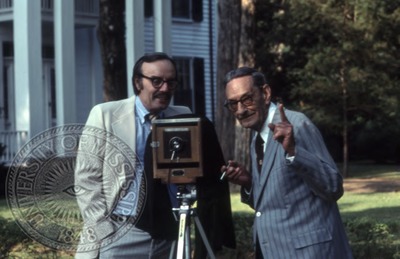
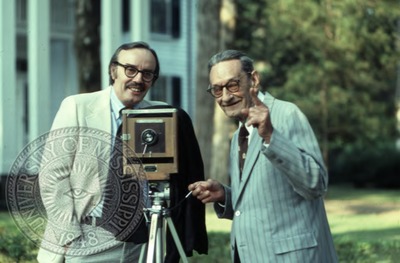
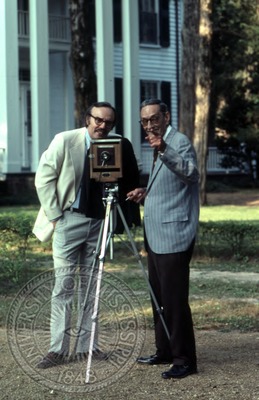
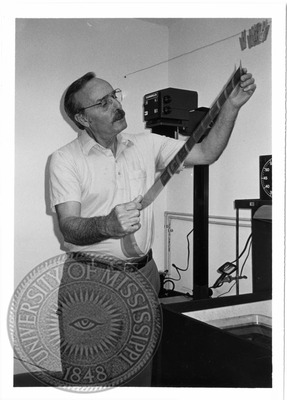
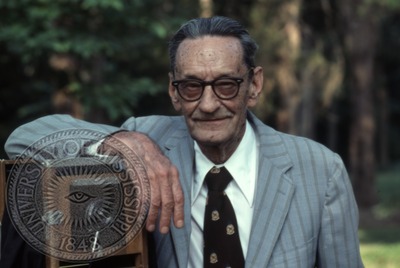
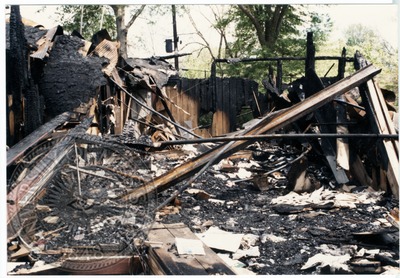
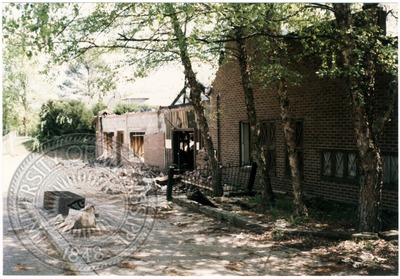
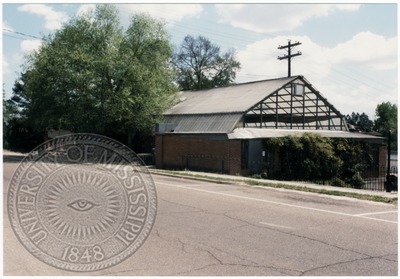
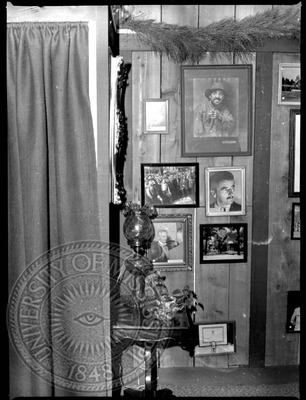
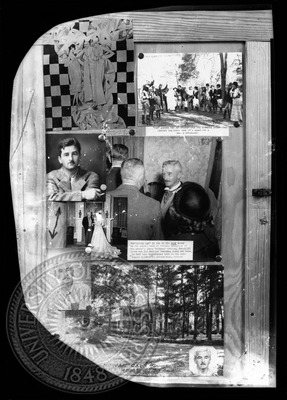
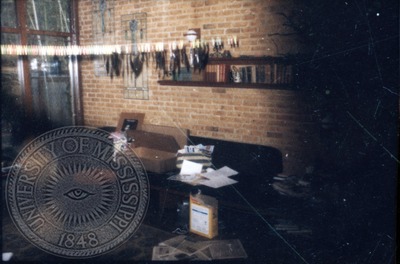
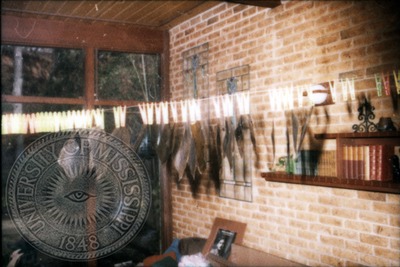
• Home
  • Search
  • Browse Collections
  • My Account
  • About
  • DC Network Digital Commons Network™
Skip to main content
eGrove University of Mississippi
  • Home
  • About
  • FAQ
  • My Account

Home > Library > Archives and Special Collections > Visual Collections > Cofield Collection > Cofield Family

Cofield Collection

Cofield Family


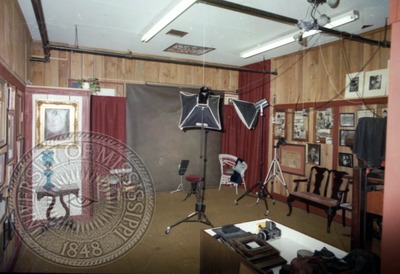
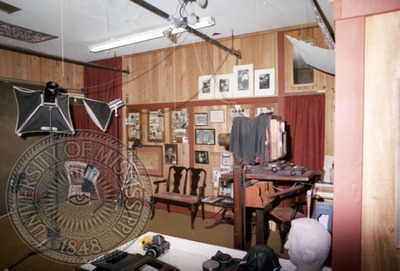
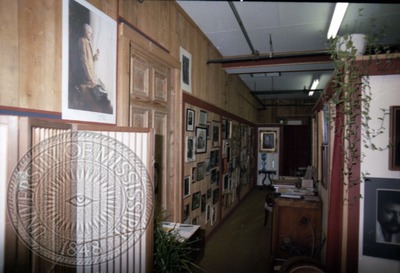
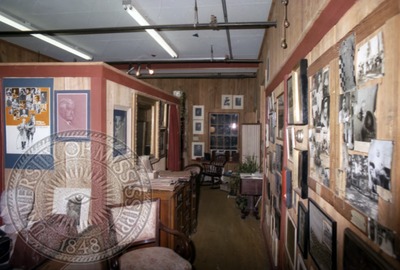
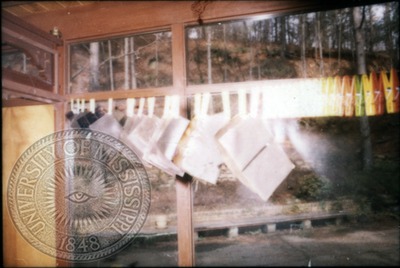
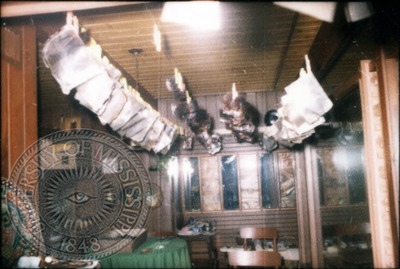
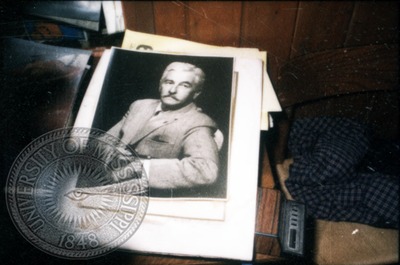
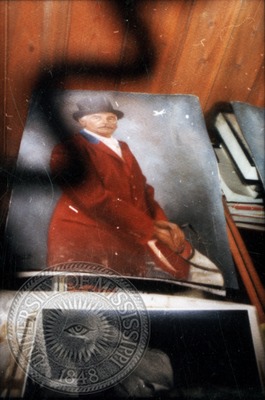
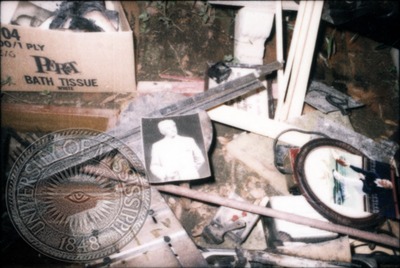
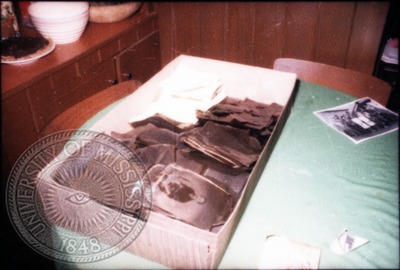
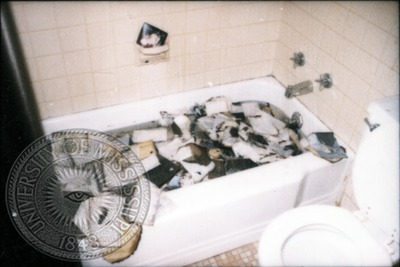
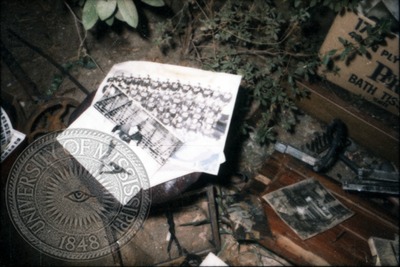
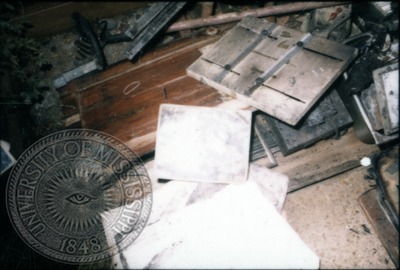
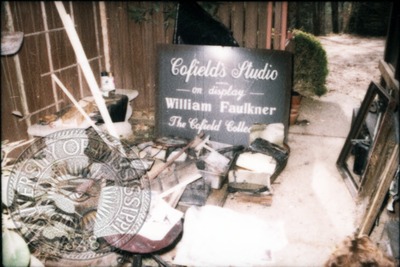
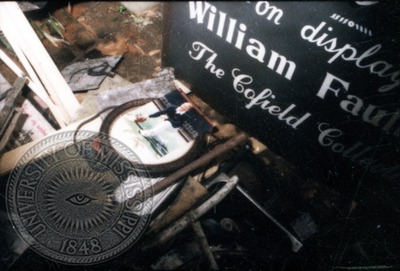
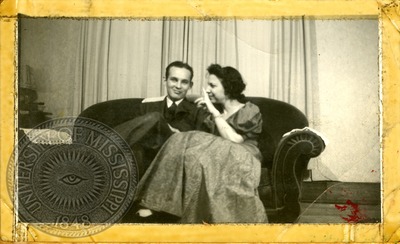
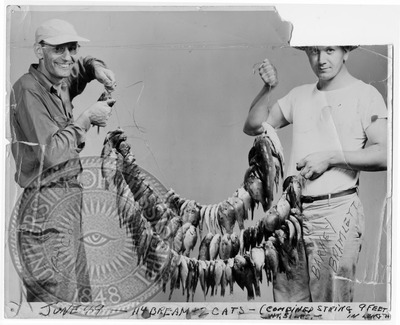
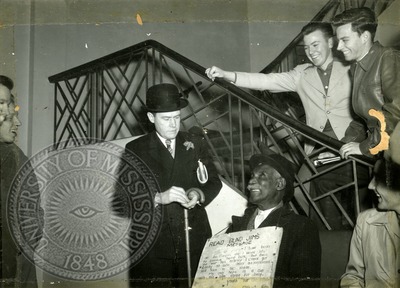
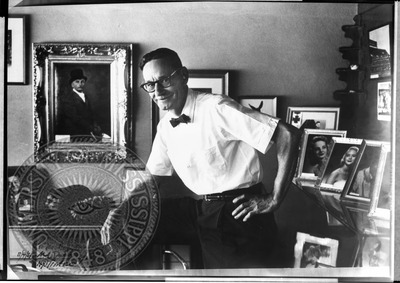
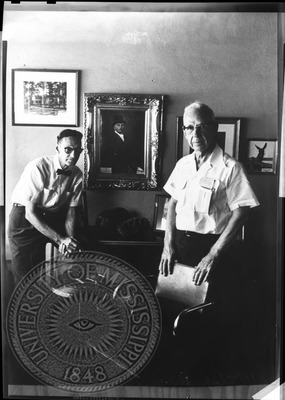
Includes photographs of Colonel J.R. and Jack Cofield with their friends, and of the Cofield Studio before and after its fire in 1970.

J.R. and Jack Cofield's original works are copyrighted to the University of Mississippi. Many images were collected by J.R. Cofield, and are subject to copyright under the creator.

Printing is not supported at the primary Gallery Thumbnail page. Please first navigate to a specific Image before printing.

Follow

Switch View View Slideshow
 
  • Portrait of Colonel J. R. and Jack Cofield with camera and unknown individual, image 1 by Walt Mixon

    Portrait of Colonel J. R. and Jack Cofield with camera and unknown individual, image 1

  • Portrait of Colonel J. R. and Jack Cofield with camera and unknown individual, image 2 by Walt Mixon

    Portrait of Colonel J. R. and Jack Cofield with camera and unknown individual, image 2

  • Portrait of Colonel J. R. and Jack Cofield with camera, image 1 by Walt Mixon

    Portrait of Colonel J. R. and Jack Cofield with camera, image 1

  • Portrait of Colonel J. R. and Jack Cofield with camera, image 10 by Walt Mixon

    Portrait of Colonel J. R. and Jack Cofield with camera, image 10

  • Portrait of Colonel J. R. and Jack Cofield with camera, image 11 by Walt Mixon

    Portrait of Colonel J. R. and Jack Cofield with camera, image 11

  • Portrait of Colonel J. R. and Jack Cofield with camera, image 12 by Walt Mixon

    Portrait of Colonel J. R. and Jack Cofield with camera, image 12

  • Portrait of Colonel J. R. and Jack Cofield with camera, image 13 by Walt Mixon

    Portrait of Colonel J. R. and Jack Cofield with camera, image 13

  • Portrait of Colonel J. R. and Jack Cofield with camera, image 14 by Walt Mixon

    Portrait of Colonel J. R. and Jack Cofield with camera, image 14

  • Portrait of Colonel J. R. and Jack Cofield with camera, image 15 by Walt Mixon

    Portrait of Colonel J. R. and Jack Cofield with camera, image 15

  • Portrait of Colonel J. R. and Jack Cofield with camera, image 16 by Walt Mixon

    Portrait of Colonel J. R. and Jack Cofield with camera, image 16

  • Portrait of Colonel J. R. and Jack Cofield with camera, image 2 by Walt Mixon

    Portrait of Colonel J. R. and Jack Cofield with camera, image 2

  • Portrait of Colonel J. R. and Jack Cofield with camera, image 3 by Walt Mixon

    Portrait of Colonel J. R. and Jack Cofield with camera, image 3

  • Portrait of Colonel J. R. and Jack Cofield with camera, image 4 by Walt Mixon

    Portrait of Colonel J. R. and Jack Cofield with camera, image 4

  • Portrait of Colonel J. R. and Jack Cofield with camera, image 5 by Walt Mixon

    Portrait of Colonel J. R. and Jack Cofield with camera, image 5

  • Portrait of Colonel J. R. and Jack Cofield with camera, image 6 by Walt Mixon

    Portrait of Colonel J. R. and Jack Cofield with camera, image 6

  • Portrait of Colonel J. R. and Jack Cofield with camera, image 7 by Walt Mixon

    Portrait of Colonel J. R. and Jack Cofield with camera, image 7

  • Portrait of Colonel J. R. and Jack Cofield with camera, image 8 by Walt Mixon

    Portrait of Colonel J. R. and Jack Cofield with camera, image 8

  • Portrait of Colonel J. R. and Jack Cofield with camera, image 9 by Walt Mixon

    Portrait of Colonel J. R. and Jack Cofield with camera, image 9

  • Portrait of Colonel J. R. Cofield with camera, image 1 by Walt Mixon

    Portrait of Colonel J. R. Cofield with camera, image 1

  • Portrait of Colonel J. R. Cofield with camera, image 2 by Walt Mixon

    Portrait of Colonel J. R. Cofield with camera, image 2

  • Portrait of Colonel J. R. Cofield with camera, image 3 by Walt Mixon

    Portrait of Colonel J. R. Cofield with camera, image 3

  • Building destruction after fire, image 1 by J. R. Cofield

    Building destruction after fire, image 1

  • Building destruction after fire, image 2 by J. R. Cofield

    Building destruction after fire, image 2

  • Building destruction after fire, image 3 by J. R. Cofield

    Building destruction after fire, image 3

  • Building destruction after fire, image 4 by J. R. Cofield

    Building destruction after fire, image 4

  • Building destruction after fire, image 5 by J. R. Cofield

    Building destruction after fire, image 5

  • Cofield Studio interior, before fire, image 1 by J. R. Cofield

    Cofield Studio interior, before fire, image 1

  • Cofield Studio interior, before fire, image 2 by J. R. Cofield

    Cofield Studio interior, before fire, image 2

  • Cofield Studio interior, before fire, image 3 by J. R. Cofield

    Cofield Studio interior, before fire, image 3

  • Cofield Studio interior, before fire, image 4 by J. R. Cofield

    Cofield Studio interior, before fire, image 4

  • Cofield Studio interior, before fire, image 5 by J. R. Cofield

    Cofield Studio interior, before fire, image 5

  • Cofield Studio interior, before fire, image 6 by J. R. Cofield

    Cofield Studio interior, before fire, image 6

  • Cofield Studio interior, before fire, image 7 by J. R. Cofield

    Cofield Studio interior, before fire, image 7

  • Negatives hang from a clothes line after the Cofield Studio fire, image 1 by J. R. Cofield

    Negatives hang from a clothes line after the Cofield Studio fire, image 1

  • Negatives hang from a clothes line after the Cofield Studio fire, image 2 by J. R. Cofield

    Negatives hang from a clothes line after the Cofield Studio fire, image 2

  • Negatives hang from a clothes line after the Cofield Studio fire, image 3 by J. R. Cofield

    Negatives hang from a clothes line after the Cofield Studio fire, image 3

  • Negatives hang from a clothes line after the Cofield Studio fire, image 4 by J. R. Cofield

    Negatives hang from a clothes line after the Cofield Studio fire, image 4

  • Photograph of William Faulkner after the Cofield Studio fire, image 1 by J. R. Cofield

    Photograph of William Faulkner after the Cofield Studio fire, image 1

  • Photograph of William Faulkner after the Cofield Studio fire, image 2 by J. R. Cofield

    Photograph of William Faulkner after the Cofield Studio fire, image 2

  • Photograph of William Faulkner after the Cofield Studio fire, image 3 by J. R. Cofield

    Photograph of William Faulkner after the Cofield Studio fire, image 3

  • Photographs and negatives stacked in a box after the Cofield Studio fire by J. R. Cofield

    Photographs and negatives stacked in a box after the Cofield Studio fire

  • Photographs lie in a bathtub after the Cofield Studio fire by J. R. Cofield

    Photographs lie in a bathtub after the Cofield Studio fire

  • Photographs stacked on the ground after the Cofield Studio fire, image 1 by J. R. Cofield

    Photographs stacked on the ground after the Cofield Studio fire, image 1

  • Photographs stacked on the ground after the Cofield Studio fire, image 2 by J. R. Cofield

    Photographs stacked on the ground after the Cofield Studio fire, image 2

  • Photographs stacked on the ground by the Cofiled's Studio sign after the Cofield Studio fire, image 1 by J. R. Cofield

    Photographs stacked on the ground by the Cofiled's Studio sign after the Cofield Studio fire, image 1

  • Photographs stacked on the ground by the Cofiled's Studio sign after the Cofield Studio fire, image 2 by J. R. Cofield

    Photographs stacked on the ground by the Cofiled's Studio sign after the Cofield Studio fire, image 2

  • Cofield showing off scrapbook by J. R. Cofield

    Cofield showing off scrapbook

  • Jack Cofield school photo. 1943 by J. R. Cofield

    Jack Cofield school photo. 1943

 
  • 1
  • 2


Browse

  • Collections
  • Disciplines
  • Authors

Search

Advanced Search

  • Notify me via email or RSS

Author Corner

  • Author FAQ

Gallery Locations

  • View gallery on map
  • View gallery in Google Earth
 
Digital Commons

Home | About | FAQ | My Account | Accessibility Statement

Privacy Copyright